
#PARDREAMIN2021 |
@PARDREAMIN
How to Customize Your Pardot Form
Like a Pro
Beginner | Tech
Jenna Molby
Marketing Operations Manager @ Dooly

#PARDREAMIN2021 |
@PARDREAMIN
Tips for providing the best user
experience

#PARDREAMIN2021 |
@PARDREAMIN
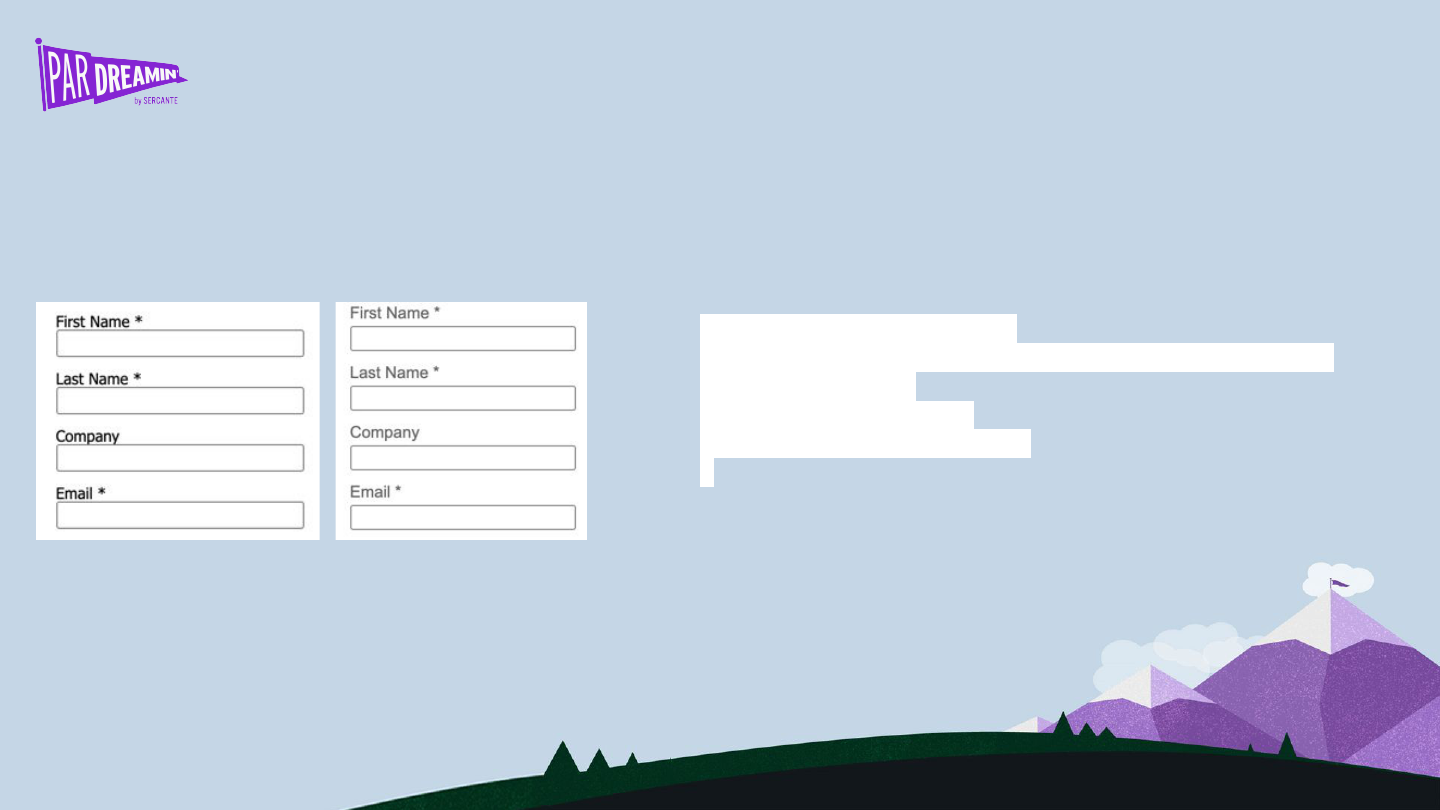
Tip #1: Place labels above the form field
Why?
● Different-sized labels and localized versions can more
easily fit the UI.
● Better for responsive design (mobile-friendly).
● Left-aligned labels can cause slower completion times
because of the visual distance between the label and
input field.
How?
● Navigate to the look & feel section of your form
● Click on the styles tab
● Update label alignment to above
#PARDREAMIN2021 |
@PARDREAMIN
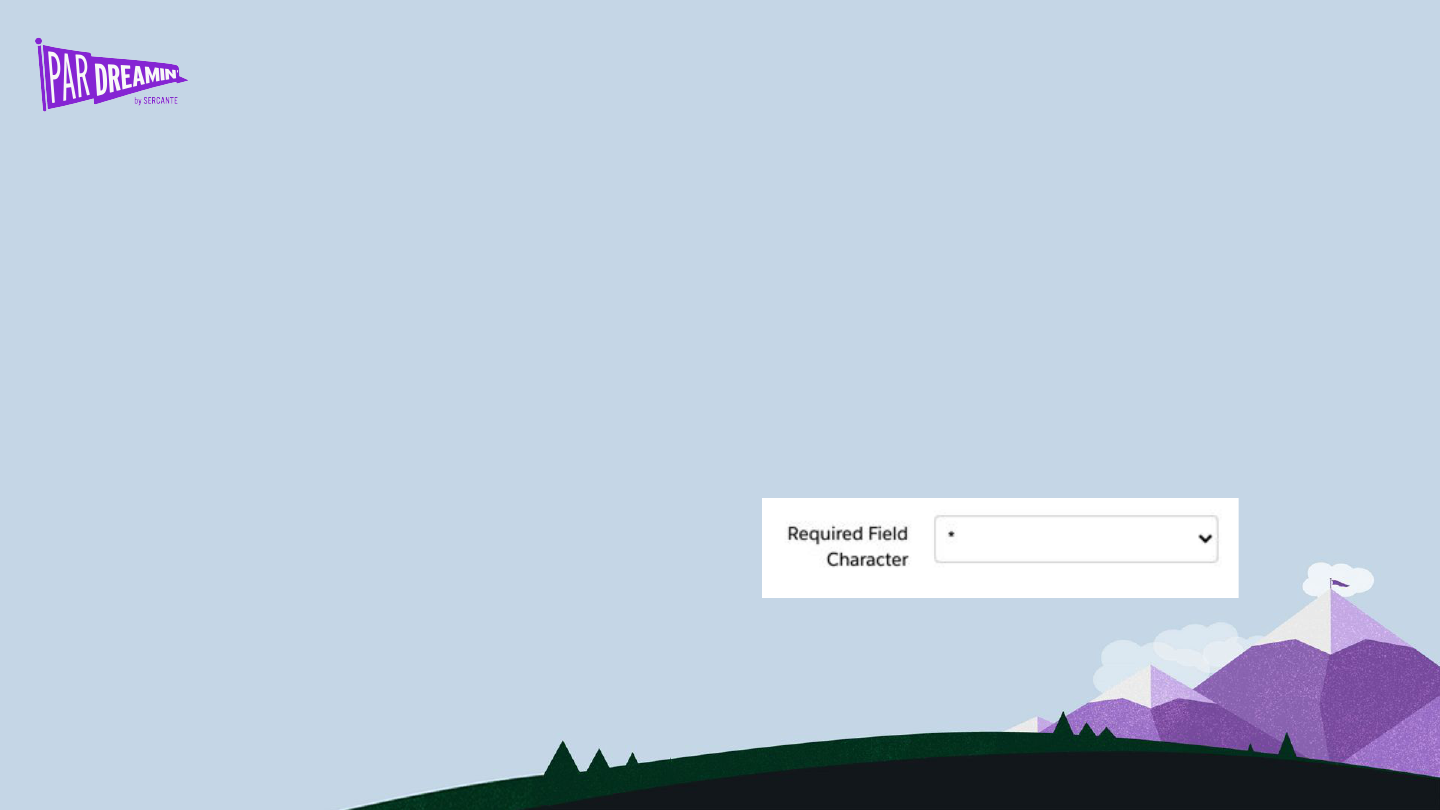
Tip #2: Update the required field character
Why?
● The default required field character is an image.
● Difficult to see on dark or colored backgrounds.
How?
● Navigate to the look & feel section of your form
● Click on the styles tab
● Update required field character to “*”

#PARDREAMIN2021 |
@PARDREAMIN
Tip #3: Displayed value vs. stored value
Why?
● The value you want to store in Pardot is not what you
want your prospects to see.
How?
● Edit your dropdown field
● Click on the values tab
● Click on the icon next to the value
● Enter the displayed value

#PARDREAMIN2021 |
@PARDREAMIN
Tip #4: Know when to use a radio vs. a
checkbox
Radio
● When you want to capture ONE selection
Checkbox
● When you want to capture MULTIPLE selections
● When you have only ONE option (ex. An opt-in
checkbox).

#PARDREAMIN2021 |
@PARDREAMIN
Customizing your form to
match your brand

#PARDREAMIN2021 |
@PARDREAMIN
Customization settings within the form editor
● Allows you to customize
○ Font family
○ Font color
○ Font size
● Other customizations need to be done
via CSS


#PARDREAMIN2021 |
@PARDREAMIN
Adding the CSS to your form
● Can be added to the FORM tab within your Layout
Template.
● Can be added to the LAYOUT tab within your Layout
Template.
● Can be placed in the BELOW FORM or ABOVE FORM
section of your form.

#PARDREAMIN2021 |
@PARDREAMIN
Unbold a form label
Example
#pardot-form p.required label,
#pardot-form span.required label {
font-weight:normal;
}
#PARDREAMIN2021 |
@PARDREAMIN
Customizing the labels
#pardot-form p label {
font-family:'Roboto', Arial, Sans-serif;
color:#666;
font-size:15px;
padding-bottom:5px;
}
Example

#PARDREAMIN2021 |
@PARDREAMIN
Styling the input fields
#pardot-form input.text {
border:solid 1px #ccc;
padding:10px;
font-size:15px;
}
Example

#PARDREAMIN2021 |
@PARDREAMIN
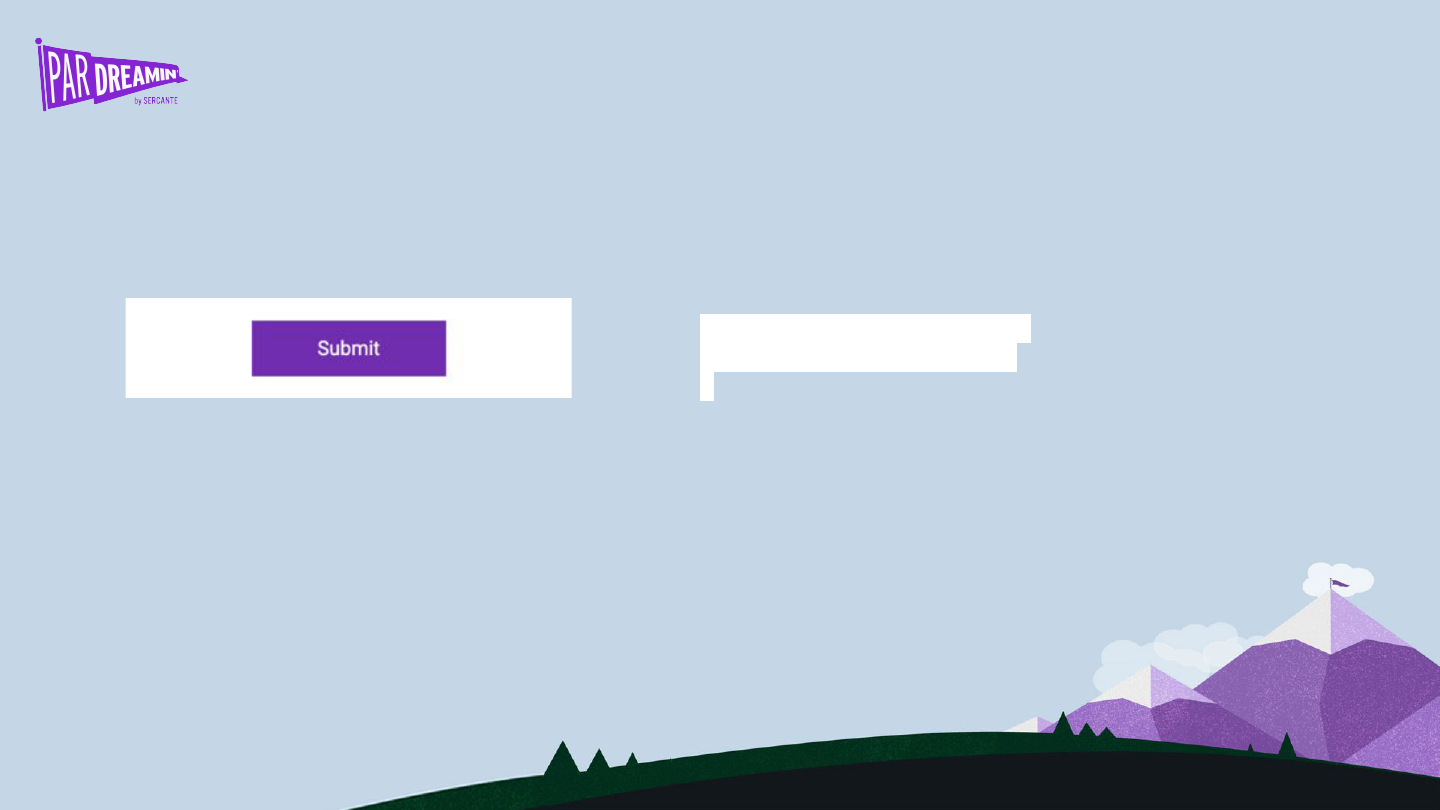
Customizing the submit button
#pardot-form p.submit input {
background-color: #7b27b7;
border:none;
color: #FFF;
padding: 12px 50px;
font-family: 'Roboto',sans-serif;
font-size:15px;
}
Example
#PARDREAMIN2021 |
@PARDREAMIN
Centering the submit button
#pardot-form p.submit {
text-align:center;
}
Example

#PARDREAMIN2021 |
@PARDREAMIN
Adding a background color
#pardot-form {
background-color:#efefef;
}
Example

#PARDREAMIN2021 |
@PARDREAMIN
Styling the error messages
/* Error message header */
.red-background, #pardot-form p.errors {
padding:10px;
background-color:#000;
}
/* Error message field text */
#pardot-form p.error.no-label {
margin-left:8px;
color:red;
}
Example


#PARDREAMIN2021 |
@PARDREAMIN
Using JavaScript to extend
form functionality

#PARDREAMIN2021 |
@PARDREAMIN
Where to place JavaScript within your
form
● Under look & feel > below form.
● Click on the HTML button within the WYSIWYG editor
and add in the JavaScript.

#PARDREAMIN2021 |
@PARDREAMIN
Use a hidden field to capture page url
● Edit the hidden form field, click on the advanced tab
and add a CSS class with the name “get-page-url”.
● Insert this JavaScript into the form
<script>
document.querySelector(".get-page-url
input").value = window.location.href;
</script>

#PARDREAMIN2021 |
@PARDREAMIN
Use a hidden field to capture page name
● Edit the hidden form field, click on the advanced tab
and add a CSS class with the name “get-page-name”.
● Insert this JavaScript into the form
<script>
document.querySelector(".get-page-name
input").value = document.title;
</script>

#PARDREAMIN2021 |
@PARDREAMIN
Adding text before the submit button
● Can be used to place a privacy policy statement before
the submit button.
● Add this JavaScript to your form --->
● Update the JavaScript with your message.
<script type="text/javascript">
function insertBefore(el, referenceNode) {
referenceNode.parentNode.insertBefore(el,
referenceNode);
}
var newEl = document.createElement('div');
// replace this line with your message
newEl.innerHTML = '<span id="privacy-policy-msg">By
registering I confirm that I have read and agree to
the <a href="https://jennamolby.com/privacy-policy/"
target="_blank">Privacy Statement</a>.</span>';
var ref = document.querySelector('p.submit');
insertBefore(newEl, ref);
</script>

#PARDREAMIN2021 |
@PARDREAMIN
Adding placeholder text
● Add this JavaScript to your form --->
var labels = document.querySelectorAll("p.pd-text label,
p.pd-select label, p.pd-textarea label");
var i = labels.length;
while (i--) {
var label = labels.item(i);
var text = label.textContent;
label.parentNode.classList.contains("required") && (text
+= " *");
var nextElement = label.nextElementSibling;
if (nextElement) {
if (nextElement.tagName == 'SELECT') {
nextElement.options[0].text = text;
} else {
nextElement.setAttribute("placeholder",
text);
}
label.parentNode.removeChild(label);
}
}


#PARDREAMIN2021 |
@PARDREAMIN
Thank You To Our Sponsors
TITLE SPONSORS
PLATINUM SPONSORS
GOLD SPONSORS SILVER SPONSORS
